

A backsplash can make a kitchen look finished fast, but it also has a way of exposing every small mistake. Crooked lines, uneven joints, poor cuts around outlets, and sloppy caulk all stand out once the lights hit the wall. That is why a kitchen backsplash tile installation guide matters. The goal is not just to get tile on the wall. It is to end up with a clean, durable surface that looks intentional from every angle.
For many homeowners, backsplash tile feels like a manageable upgrade. Sometimes it is. But the difference between a quick cosmetic improvement and a lasting, polished installation usually comes down to planning, surface prep, and detail work. If you understand those parts before the first tile goes up, the project tends to go much smoother.
What a good kitchen backsplash tile installation guide should cover
A backsplash installation is a finish trade job, which means the final look depends on precision. Even small layout issues can carry across the whole wall. Before setting tile, you need to know where the installation starts and stops, how it will die into cabinets or countertops, and what happens around outlets, windows, and corners.
Tile choice affects the process more than most people expect. A simple 3×6 subway tile is forgiving compared to handmade zellige, glass tile, or a large-format porcelain panel. Some materials vary in thickness. Others chip easily or show adhesive lines through the face. The more distinctive the tile, the more careful the planning needs to be.
That is one reason experienced installers spend real time on dry layout. It helps avoid awkward slivers at the end of a run and keeps focal areas centered. Above a range, for example, people notice alignment immediately. If the pattern drifts there, the whole kitchen can feel off even if the rest is technically acceptable.
Start with the wall, not the tile
The wall behind a backsplash needs to be clean, flat, dry, and sound. Fresh paint with gloss, grease buildup near the cooking area, torn drywall paper, or uneven patches can all interfere with bond. If the substrate is not right, even good tile work can fail early.
Minor wall imperfections can sometimes be corrected with sanding, patching, or skim coating. More significant issues may call for drywall repair or replacement in sections. This is especially true in remodels where an old backsplash was removed and took part of the paper face with it.
A common mistake is assuming the countertop or upper cabinets are perfectly level and square. In real kitchens, they often are not. Checking those lines first lets you decide whether to follow the cabinet, split the difference visually, or use a level reference line that keeps the tile looking straight to the eye. What matters most is the finished appearance, not blind loyalty to a crooked surface.
Measure the whole field before you cut anything
Take full measurements of each wall section, then mark outlets, switches, windows, vent hoods, and trim transitions. Dry lay a row or two if needed. This is where you spot problems early.
If one end of the backsplash would leave a half-inch cut, you may want to shift the layout. If a decorative pattern needs to center on the sink or range, mark that first and build out from there. Good layout work can feel slow, but it saves time once thinset is mixed and the clock starts moving.
Choosing the right setting materials
Not every adhesive or grout fits every backsplash tile. Ceramic and porcelain are often straightforward, but glass, natural stone, and mesh-mounted mosaics can require specific mortars or non-sag products. Manufacturer instructions matter here. Using the wrong setting material may lead to poor bond, discoloration, or visible trowel lines.
Premixed adhesive gets marketed as simple, but it is not always the best fit for every tile or wall condition. A quality thinset mortar often gives better performance, especially when you want a strong bond and a reliable cure. The trade-off is that it requires proper mixing and working time awareness.
Grout choice matters too. Sanded, unsanded, single-component, and epoxy grout all have pros and cons. Unsanded grout is common for tight joints, but wider joints may call for sanded or specialty products. Epoxy offers stain resistance, though it can be less forgiving during cleanup. The right answer depends on tile type, joint width, and how much maintenance the homeowner wants later.
The kitchen backsplash tile installation guide to laying tile well
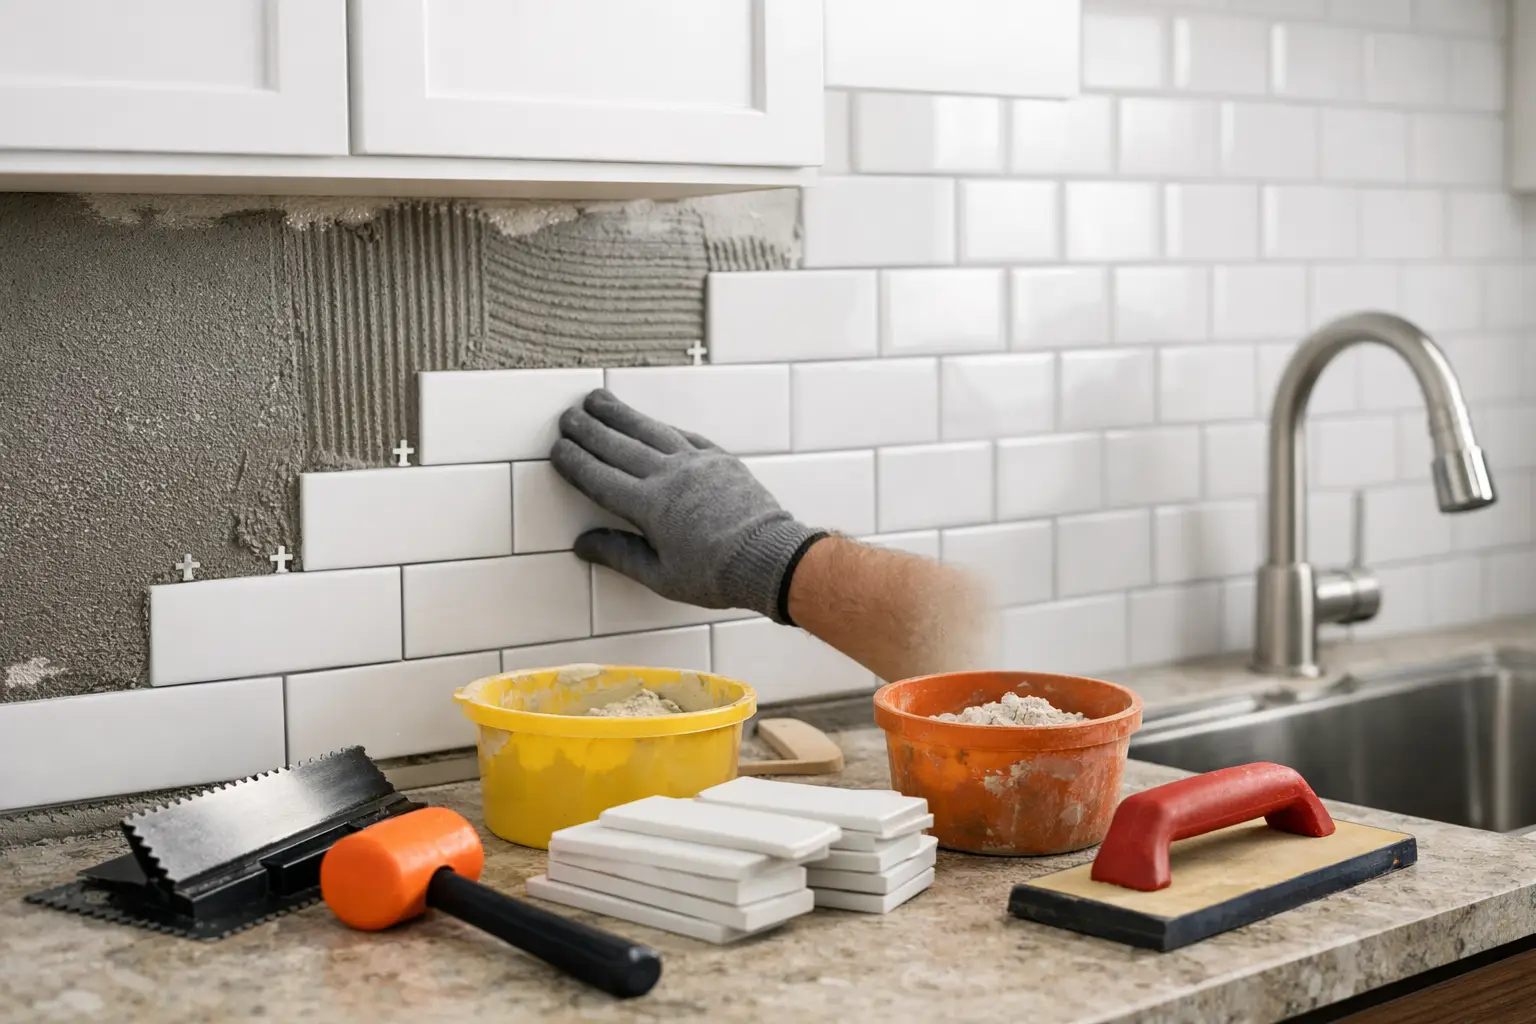
Once the layout is marked and the wall is ready, tile setting becomes a rhythm of consistency. Spread only as much mortar as you can cover while it is still workable. Use the right trowel size for the tile, and press tiles in firmly enough to collapse the ridges. That step matters more than it looks. A tile can seem attached while still lacking proper coverage behind it.
Spacers help, but they do not fix drifting lines on their own. Step back often. Check horizontal courses and vertical alignment as you go. On long runs, tiny variations add up.
Backsplash work often includes a lot of cuts, especially around outlets. Clean cuts are one of the clearest signs of craftsmanship. Outlet covers may hide the edge of the tile opening, but they do not hide badly planned layout that leaves tiny unsupported pieces or uneven reveal. If several outlets line up across one wall, keeping those cuts balanced creates a more professional finish.
Corners, edges, and terminations make or break the look
Inside corners are rarely perfectly square, so forcing full tiles into them can create uneven joints. It is usually better to leave a small, consistent gap at the corner and finish it with color-matched caulk rather than grout. That allows a bit of movement and gives the corner a cleaner appearance.
Exposed ends also need a plan. Sometimes a bullnose or trim profile is the right finish. Other times the tile line can terminate against a cabinet panel or wall return. What matters is making that ending look deliberate. Random stopping points are one of the fastest ways to make a backsplash look like an afterthought.
Grouting, caulking, and cleanup
A backsplash is not done when the last tile is set. Grouting changes the whole look, and poor cleanup can leave haze, pinholes, or uneven joints. The joints should be filled consistently, and excess grout should be cleaned before it hardens on the face.
Caulk belongs at changes of plane, such as countertop-to-backsplash joints and inside corners. Grout in those areas can crack over time because the surfaces move differently. A flexible, color-matched caulk usually gives a better long-term result.
This final stage is where patience pays off. Rushing cleanup can drag grout from the joints. Waiting too long can make haze removal harder than it needs to be. Each product has its own timing window, so following those directions matters.
Where DIY can work and where it gets risky
Some homeowners can absolutely install a simple backsplash successfully, especially on a small, straight run with forgiving tile. If the wall is flat, the pattern is basic, and there are only a few outlet cuts, the project may be a reasonable DIY upgrade.
The risk goes up when the kitchen includes uneven walls, stacked patterns, herringbone layouts, natural stone, tight sightlines, or multiple finish transitions. Those details require more judgment than people expect. A backsplash is viewed up close every day, so imperfections do not stay hidden.
This is also where hiring a contractor can protect the rest of the remodel. If cabinetry, countertops, paint, and electrical trim are already in place, tile work needs to be precise and clean. One chipped edge or one misjudged cut can affect the finish quality of the whole kitchen. For homeowners in the Meridian, Boise, and Nampa area who want that done-right result, working with a detail-focused installer often saves time, stress, and rework.
A few practical expectations before you begin
Material lead times, wall condition, tile variation, and grout cure times all affect schedule. Backsplash work is not always a same-day project, even when the square footage is small. And if the design includes handmade tile or intricate layout, extra time is normal.
Budget should account for more than tile alone. Setting materials, trim pieces, outlet extenders, sealers if needed, and surface repair can all be part of the final cost. The cheapest path up front is not always the best value if the finished work does not hold up or does not look right.
A backsplash should feel like it belongs to the kitchen, not like it was added as a quick patch of color. When the lines are clean, the cuts are crisp, and the finish details are handled carefully, the entire room feels more complete. If you are planning one, slow down on the front end, make decisions with the whole kitchen in mind, and treat the details like they matter. They do.