

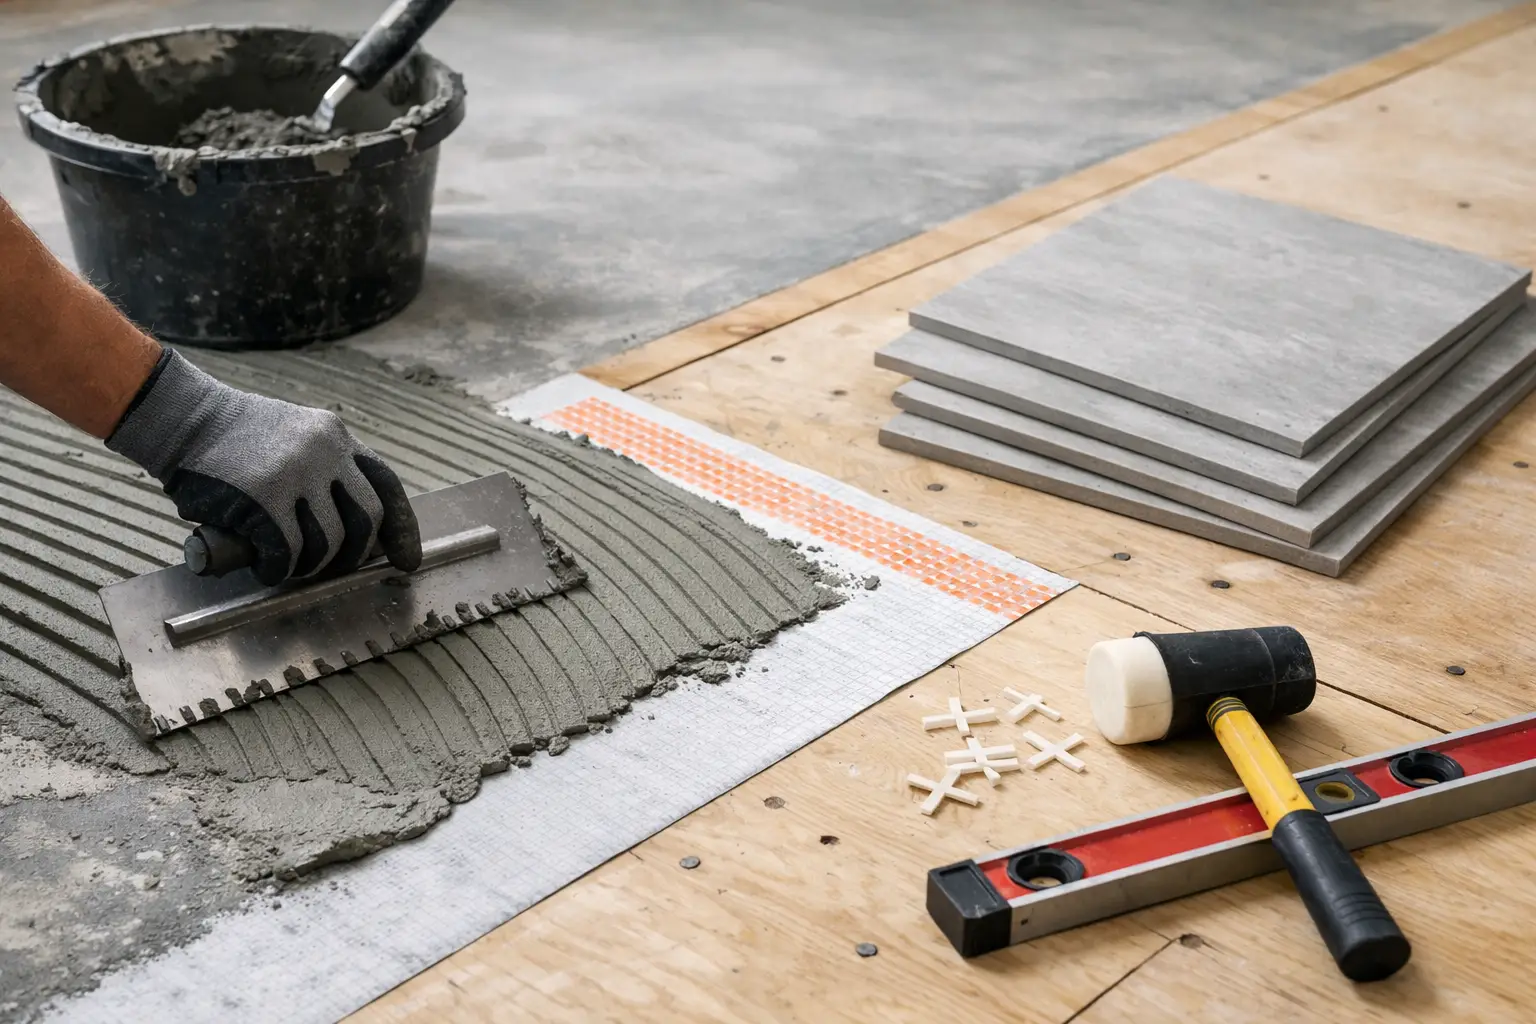
A tile floor can look flawless on day one and still fail within a year if the surface underneath was rushed. Cracked grout, loose tile, hollow spots, and lippage usually start below the finish layer. That is why knowing how to prepare subfloor for tile matters just as much as choosing the tile itself.
In our line of work, this is where craftsmanship shows. Anyone can spread thinset. The real difference is in the prep – checking structure, correcting movement, and building a surface that can hold up to daily traffic for years. If you want a tile floor that feels solid and looks clean long after installation, the subfloor has to be treated like the foundation it is.
Why subfloor prep matters before tile
Tile is hard and durable, but it is not forgiving. Unlike vinyl or carpet, it does not hide dips, flex, swelling, or weak spots. If the floor moves too much under load, the tile assembly absorbs that stress. Sometimes the first sign is hairline grout cracking. Other times, tiles break outright.
The goal is simple: create a surface that is clean, flat, stable, and appropriate for tile. The exact method depends on what is already there. A wood-framed floor in an older Boise home may need very different prep than a concrete slab in a newer property in Meridian or Nampa. That is where experience matters. Good prep is never one-size-fits-all.
How to prepare subfloor for tile: start with what is underfoot
Before any underlayment goes down, identify the existing subfloor and evaluate its condition. Most residential tile projects start over either plywood or OSB on wood joists, or over a concrete slab. In remodels, there may also be old flooring layers that need to come out first.
If you are working over wood framing, check for deflection. That means how much the floor bends under weight. Tile needs a stiff floor. Natural stone needs an even stiffer one. If the framing is undersized, over-spanned, or weakened by water damage, no backer board or membrane will magically fix that. The structure has to be corrected first.
On concrete, the main concerns are cracking, moisture, curing, and flatness. A slab may look solid and still have issues that affect bond strength. Surface contamination, old adhesives, paint, or sealers can all interfere with proper installation.
Whatever the base is, remove anything loose, soft, swollen, dirty, or damaged. Tile should never be installed over a compromised surface just because it feels faster in the moment.
Inspect for movement, damage, and moisture
This is the part homeowners often do not see, but it is where many successful tile jobs are won or lost. Walk the floor slowly and listen. Feel for squeaks, bounce, and soft areas. Look for signs of water damage around tubs, toilets, exterior doors, and kitchen appliances. If the subfloor has dark staining, delamination, or swelling at seams, replacement may be necessary.
Fastening matters too. Wood subfloor panels should be securely attached to the framing. If there is movement between the panel and joist, add the proper screws before moving forward. Squeaks are not just an annoyance. They are a warning that something is shifting.
Moisture needs attention as well. In bathrooms especially, repeated leaks can weaken a subfloor long before tile failure becomes obvious. On concrete, excess moisture can affect adhesives and membranes. On wood, trapped moisture can cause swelling and movement. A dry, stable base is the standard.
Flat is not the same as level
One of the biggest misunderstandings in tile work is assuming the floor must be perfectly level. What it really needs is flat. A floor can slope slightly and still be acceptable if it is uniformly flat enough for the tile size being installed.
This becomes more important with larger format tile. The bigger the tile, the more visible any dip or hump becomes. Uneven subfloors lead to lippage, poor thinset coverage, and weak bond points. Use a straightedge to identify high and low areas before underlayment goes in.
Low spots may need patching or a self-leveling product approved for the substrate. High spots may need to be ground down. The right fix depends on the floor system and the material you are installing over. Skipping this step usually shows up later in the finished surface.
Choose the right underlayment for tile
If you are learning how to prepare subfloor for tile over wood, underlayment is a major part of the process. Tile should not be bonded directly to standard plywood or OSB in most situations without a system specifically designed for it. Instead, installers typically use cement backer board or an uncoupling membrane.
Cement backer board provides a stable, tile-friendly surface, but it does not add structural strength. It must be embedded properly, fastened according to manufacturer spacing, and installed with staggered joints. Simply screwing it down without the proper bedding layer underneath is not enough.
Uncoupling membranes are another common option. They can help manage minor movement between the subfloor and tile layer and are often useful in bathrooms, kitchens, and other remodel settings. The best choice depends on floor height, tile type, moisture exposure, and the condition of the subfloor below.
On concrete slabs, prep may involve crack isolation membranes, moisture mitigation products, or surface grinding rather than backer board. The point is not to use the same material everywhere. The point is to match the system to the job.
Cleanliness affects bond strength
A surprising number of tile failures come down to contamination. Dust, drywall mud, paint overspray, adhesive residue, oil, and debris can weaken thinset adhesion. Before tile work starts, the substrate should be thoroughly cleaned and ready to receive the next layer.
That does not mean a quick sweep and good intentions. It means removing old mastics when required, vacuuming fine dust, and making sure patching materials or primers are fully compatible with the tile assembly. Precision here protects the finish later.
Bathrooms need extra attention
Bathrooms are one of the most common places for tile failure because they combine moisture, plumbing penetrations, and daily use. Toilet flanges, shower curbs, tub surrounds, and vanity areas all create transitions that need careful planning.
In these spaces, subfloor prep often overlaps with waterproofing strategy. A bathroom floor may need a membrane system, proper seam treatment, and careful height coordination at doorways and adjacent flooring. If the room has had leaks in the past, the subfloor should be inspected with even more scrutiny.
This is also where a full-scope contractor brings value. On a well-managed remodel, tile prep is not treated like an isolated trade task. It is coordinated with plumbing, framing, floor height, and finish details so the entire assembly works together.
Common mistakes that cause tile problems later
The most common prep mistakes are usually the ones that save time upfront. Tiling over damaged subfloor, ignoring floor bounce, skipping flattening, using the wrong underlayment, or failing to fasten materials properly can all shorten the life of the installation.
Another frequent issue is assuming backer board will fix a weak floor. It will not. Neither will extra thinset. Thinset is for bonding, not leveling out major subfloor defects. When installers use finish materials to compensate for prep problems, the result rarely holds up.
There is also the issue of transitions. Adding underlayment, tile, and waterproofing changes floor height. If that is not planned early, you can end up with awkward thresholds, appliance clearance problems, or doors that need to be cut after the fact.
When it makes sense to call a pro
Some tile prep tasks are straightforward. Others need a trained eye. If the floor feels bouncy, has visible water damage, spans multiple rooms with uneven heights, or sits in a high-moisture space like a bathroom, professional evaluation is usually the smarter move.
A licensed contractor can determine whether the issue is cosmetic or structural, recommend the right prep system, and coordinate repairs before tile goes down. That kind of planning prevents expensive rework. At My Contractor LLC, that is exactly how we approach tile and bathroom remodeling projects – with the prep, sequencing, and finish quality handled as one complete job.
A beautiful tile floor starts long before the first tile is set. Give the subfloor the attention it deserves, and the finished result has a much better chance of staying clean, level, and solid for the long haul.