

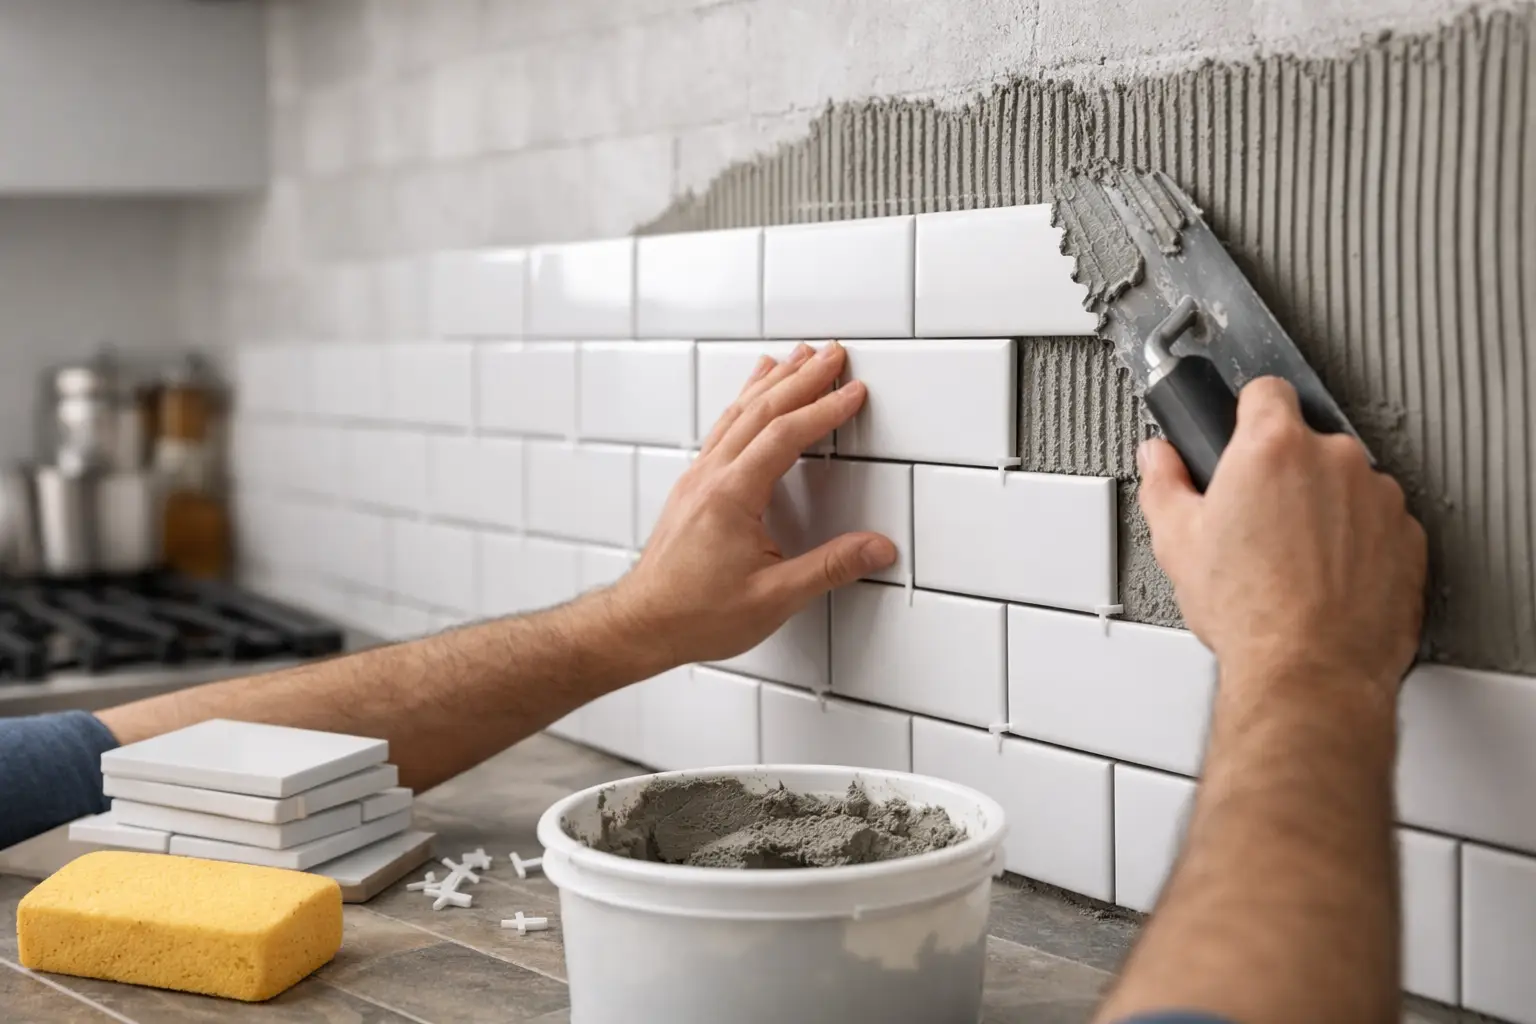
A backsplash is one of the smallest surfaces in the kitchen, but it has a big job. It sits behind the range, around the sink, and under the cabinets where steam, grease, water, and daily cleanup happen. When the tile is installed well, it looks sharp and holds up for years. When it is rushed, every uneven line and sloppy cut ends up at eye level.
That is why kitchen backsplash tile installation is less about sticking tile to a wall and more about planning, precision, and finish quality. Homeowners across Meridian, Boise, and Nampa often focus first on tile color or pattern, which makes sense. But the result you live with every day depends just as much on layout, surface prep, cut quality, grout selection, and how cleanly the work ties into cabinets, outlets, countertops, and trim.
What makes kitchen backsplash tile installation different
Backsplash tile is finish work. It is not hidden behind drywall or tucked under flooring. It is one of the first things people notice when they walk into a kitchen, especially if the tile runs from countertop to upper cabinets or all the way to the ceiling.
That visibility changes the standard. Small issues that might go unnoticed in other parts of a remodel stand out fast here. A crooked first row can throw off the entire wall. Tight spaces around outlets can expose rough cuts. Uneven grout joints can make premium tile look inexpensive. In a kitchen, where lines from cabinets and counters are already fixed, the tile has to work with what is there.
This is also an area where function matters as much as appearance. The right installation helps protect the wall from moisture and stains, makes cleanup easier, and gives the kitchen a finished look that supports the value of the larger remodel.
The planning stage matters more than most people expect
A good backsplash project starts before the first tile is set. Measurements need to be confirmed carefully, especially in older homes where walls may not be perfectly flat or square. The installer should look at outlet placement, window trim, vent hoods, cabinet spacing, and the condition of the drywall.
Layout is a major decision point. This is where craftsmanship shows early. Some tile patterns look best centered on the range. Others should align with upper cabinet lines or avoid thin slivers at the ends of a run. There is rarely a single correct answer. It depends on the tile size, the kitchen layout, and what visual feature should lead the design.
This is also the time to decide where the backsplash begins and ends. In some kitchens, a simple run under the uppers is the right move. In others, wrapping a side wall or extending tile higher creates a more custom finish. Those choices affect labor, material counts, and the overall balance of the space.
Surface prep is what supports a lasting result
One of the most overlooked parts of kitchen backsplash tile installation is the wall itself. Tile needs a stable, clean, properly prepared surface. If the drywall is damaged, greasy, glossy from old paint, or wavy, the finished tilework can suffer.
In some kitchens, minor prep is enough. In others, sections of drywall may need repair or replacement before tile goes on. Freshly skimmed areas need to be dry and ready. Existing texture often needs to be addressed so the tile sits flat. Around cooking areas, grease buildup has to be removed fully or adhesion can become a problem.
This part is not exciting, but it is where a done-right installation starts. Skipping prep can save time in the moment and create visible problems later.
Choosing the right tile means balancing style and practicality
Homeowners usually come in with a look they like – subway tile, stacked tile, a herringbone pattern, natural stone, or a larger-format porcelain. All of those can work, but not every tile behaves the same during installation.
Ceramic and porcelain are common choices because they are durable, relatively easy to maintain, and available in a wide range of finishes. Glass can create a clean, light-reflective look, but it often requires more careful cutting and setting. Natural stone adds character and depth, though it may need sealing and more maintenance depending on the material.
Tile size matters too. Larger tile can reduce grout lines and create a cleaner visual field, but it also shows wall irregularities more easily. Small-format tile allows more flexibility around outlets and corners, yet it increases grout lines and requires more precision to keep everything consistent.
The best choice depends on your kitchen, your maintenance preferences, and the finish level you want. A beautiful tile is only part of the decision. The installation method has to match the material.
Why layout and cuts separate average work from premium work
The difference between acceptable tile work and excellent tile work usually comes down to the details. Symmetry, spacing, and cut placement have a huge effect on the final appearance.
A professional installer will think through how the tile lands at cabinet ends, inside corners, windows, and outlets. The goal is not just to fill the area. It is to make the tile look intentional from every angle. That may mean shifting the layout slightly to avoid tiny edge pieces or to center a pattern on a focal point.
Outlet cuts are especially telling. Since they break up the field of tile, they need to be clean and tight. The same goes for transitions at countertops and cabinet undersides. These edges should feel deliberate, not improvised.
Patterned installations raise the stakes even more. Herringbone, basketweave, and other decorative layouts can look outstanding, but they require exact spacing and consistent alignment. They also take more time. That trade-off is worth considering if you want a standout finish without introducing unnecessary complexity.
Grout and finishing choices shape the final look
People often treat grout as an afterthought, but it changes the entire appearance of a backsplash. A matching grout color can make the tile field feel calm and continuous. A contrasting grout highlights the pattern and gives the installation more graphic definition.
There are practical considerations too. Lighter grout can brighten the kitchen, but it may show staining more easily in high-use areas. Darker grout can hide some wear, though it changes the overall look more dramatically. Joint width also matters. Some tiles are designed for tight, modern lines, while others need a slightly wider joint to accommodate variation.
Then there is the finish work around the edges. Depending on the tile, the project may call for trim pieces, metal edging, or carefully polished exposed edges. This is another area where the finished result can feel either custom or unfinished. Thoughtful detailing makes the whole kitchen look more complete.
Timing, coordination, and cleanliness during the project
Most homeowners are not just hiring for tile. They are hiring for a process that respects their home. In a kitchen, that matters. The work area should be protected, dust should be managed, and the schedule should be clear from the start.
Backsplash installation often happens toward the end of a remodel, after cabinets and counters are in place. That means coordination is important. The installer has to work cleanly around finished surfaces and avoid damage to surrounding materials. It also means punch-list thinking matters. Small details like caulk lines, cover plate fit, and final cleanup make a real difference in how complete the project feels.
For homeowners who want a guided experience, this is where working with a contractor who understands both finish work and broader project management can reduce stress. When layout decisions, sequencing, and final detailing are handled carefully, the process feels organized instead of disruptive.
When to call in a professional
Some backsplash projects are straightforward. Others are not. If the tile is handmade, the pattern is complex, the walls are uneven, or the backsplash wraps around multiple features, experience matters quickly. The same is true when the kitchen is part of a larger renovation with other trades, scheduling pressure, or permit-related work happening nearby.
A professionally installed backsplash should look clean on day one and still look right years later. That comes from precision, not shortcuts. For homeowners who care about detail, resale value, and a finish that matches the rest of the kitchen, it pays to have the work done with intention.
At My Contractor LLC, that is the standard we believe in – careful planning, precise tile work, and a finished product that reflects pride in the details.
If you are updating your kitchen, think of the backsplash as more than a decorative strip on the wall. It is a daily-use surface, a visual focal point, and one of those details that quietly tells you whether the job was truly done right.