

A shower can look freshly cleaned on Saturday and show dark grout lines again by Wednesday. That is not necessarily a sign that your bathroom is dirty. Grout is porous, showers stay wet, and trapped moisture gives mold a place to grow. Knowing how to prevent mold in shower grout comes down to managing moisture first, then maintaining the tile surface before staining becomes a larger repair issue.
For homeowners in Meridian, Boise, Nampa, and surrounding Idaho communities, the best approach is practical and consistent. A few minutes after each shower can protect the finish of a well-built tile installation far better than an occasional aggressive cleaning session.
Why shower grout gets moldy
Grout is not waterproof on its own. Even sealed grout has limits, especially in a shower that sees daily use. Water, soap residue, body oils, and minerals can settle into tiny pores along the grout lines. When the area does not dry fully, mold and mildew can begin growing on the surface or within those pores.
The black, gray, pink, or orange discoloration homeowners notice is not always the same thing. Dark spots are often mold or mildew, while pink or orange film may be bacteria encouraged by moisture and soap residue. All of it points to the same underlying condition: the shower is staying damp too long.
Ventilation problems are a common cause. A bathroom fan that is undersized, clogged, rarely used, or vented improperly cannot remove humid air effectively. In some homes, a closed shower door or curtain also traps humidity in the shower enclosure long after the water is turned off.
How to prevent mold in shower grout with daily habits
The most effective prevention is simple: remove standing water and give the shower a chance to dry. After each shower, use a squeegee on the wall tile, shower glass, and curb. This takes less than a minute and removes the water that would otherwise sit on grout lines and tile edges.
Follow with a quick wipe of the grout and corners using a clean microfiber cloth if the shower stays particularly humid. Focus on horizontal surfaces, the bottom rows of wall tile, niches, benches, and the joint where the wall meets the shower floor. These are the places where water lingers.
Run the bathroom exhaust fan during the shower and for at least 20 to 30 minutes afterward. If your fan is loud but seems ineffective, it may need cleaning, repair, or replacement. A fan should pull humid air out of the bathroom, not simply make noise. Leaving the bathroom door slightly open after showering can also improve air movement, provided it does not create privacy or temperature concerns for your household.
If you use a shower curtain, extend it fully after use rather than bunching it to one side. If you have a glass enclosure, leave the door cracked open once the shower is no longer in use. The goal is to let air circulate instead of trapping moisture in a closed enclosure.
Clean residue before it feeds mold
Mold prevention is not only about visible water. Soap scum, shampoo residue, and oils create a film that helps mildew hold onto tile and grout. A light weekly cleaning is much easier on grout than waiting for stains to appear.
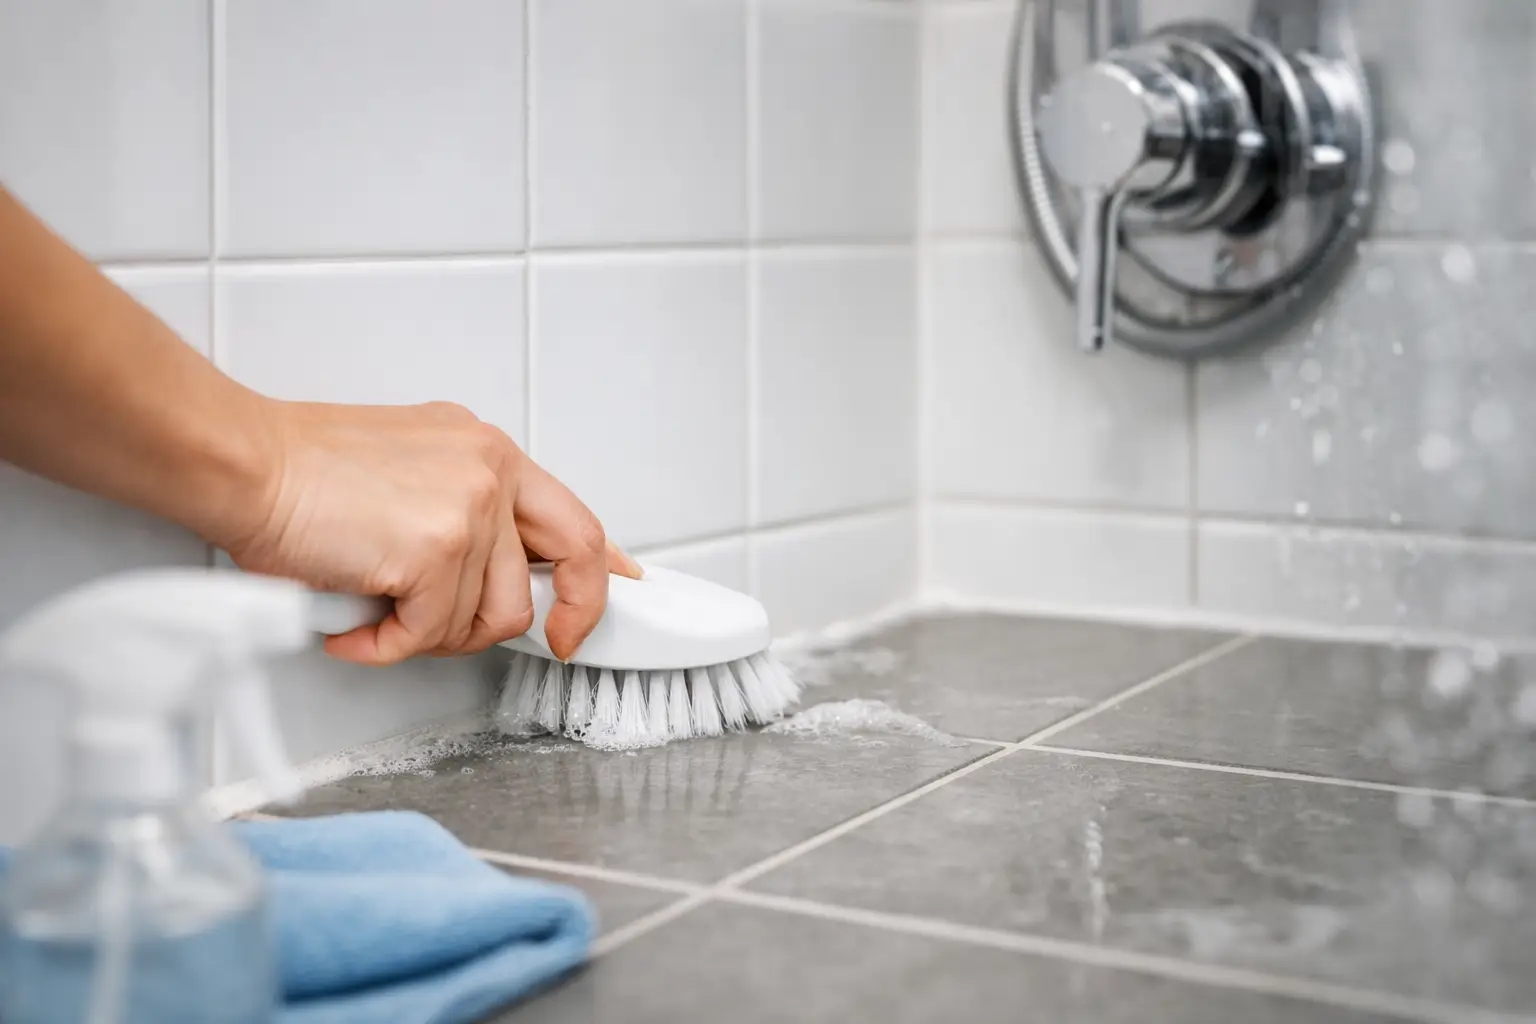
Use a pH-neutral tile and grout cleaner or a mild cleaner recommended for your specific tile. Spray or apply it, allow it to sit for the recommended time, then gently scrub with a soft nylon brush. Rinse thoroughly and dry the surface afterward. The right brush matters: stiff wire brushes can scratch tile glaze, damage grout, and leave metal particles that create rust-colored marks.
Avoid reaching for harsh chemicals as the default solution. Bleach may lighten surface staining, but it does not always solve moisture below the surface, and frequent use can be hard on grout, caulk, finishes, and your indoor air. Acidic cleaners can damage natural stone and certain grout types. If your shower includes marble, travertine, limestone, or another natural stone, use only products designed specifically for that material.
For routine care, consistency wins. A weekly cleaning schedule, paired with daily drying, usually prevents the need for heavy scrubbing.
Seal grout when the material calls for it
Many cement-based grouts benefit from a penetrating sealer. Sealer reduces how readily grout absorbs water and staining agents, making it easier to clean and less hospitable to mold growth. It is a protective layer, not a substitute for ventilation or drying.
Whether your grout needs sealing depends on the type of grout installed. Traditional cement grout often does. Epoxy grout is far less porous and generally does not require the same sealing routine. Some modern premixed grouts have their own maintenance requirements. If you are unsure what is in your shower, do not guess with a product that may not be compatible.
A simple water test can offer a clue for cement grout. Place a few drops of water on a clean, dry grout line. If the water darkens the grout quickly and absorbs rather than beading on the surface, it may be time to reseal. Follow the sealer manufacturer’s directions closely, including cure times. Applying sealer to damp grout or failing to remove excess product can leave behind haze and uneven results.
Most showers need grout evaluated for resealing every year or two, but the right schedule depends on product type, shower use, cleaning products, and how well the bathroom dries. A busy family shower may need more attention than a lightly used guest bathroom.
Do not ignore caulk, cracks, or loose tile
Grout and caulk serve different purposes. Grout fills joints between tile on the same plane. Flexible caulk or sealant is used where surfaces change direction, such as wall corners, the tub-to-tile joint, and the connection between a shower wall and floor. Those movement joints need flexibility as the house and materials expand and contract.
Cracked grout, missing caulk, loose tile, or recurring dark spots in the same location can signal that water is getting where it should not. Surface cleaning will not correct a failed joint or a waterproofing issue behind the tile. In fact, repeatedly scrubbing a compromised area may make the visible finish worse while the moisture problem continues.
Watch for soft drywall outside the shower, peeling paint, persistent musty odors, tiles that sound hollow or move under pressure, and staining that returns shortly after cleaning. These signs deserve a professional assessment. A properly built shower relies on correct waterproofing behind the tile, not just attractive grout on the face of the wall.
Improve the bathroom conditions around the shower
A shower fan is part of the room’s moisture-control system, so give it routine attention. Dust buildup on the grille can reduce airflow. Clean the cover carefully a few times a year, and make sure the fan actually exhausts outdoors rather than into an attic or enclosed space. If mirrors remain fogged long after a shower, the fan may not be moving enough air for the room.
Keep bath mats, towels, and damp clothing from staying piled near the shower. Wash fabric shower liners regularly, because they can hold moisture and spread mildew spores back into the shower area. Repair dripping showerheads and valve leaks promptly. Even a small, constant drip can keep grout wet at the bottom of a wall or on the shower floor.
If your bathroom has no window and limited fan capacity, daily squeegeeing becomes even more valuable. A portable dehumidifier can help in some situations, but it should support good ventilation, not replace it.
When prevention becomes a remodeling conversation
An older shower with failing grout, repeated mold growth, or water damage may need more than maintenance. Sometimes the issue is poor airflow. Other times, it is a shower assembly that was not waterproofed correctly from the beginning. Covering the symptoms with new grout or caulk without addressing the cause can lead to more expensive repairs later.
For a bathroom renovation, material choices can make long-term maintenance easier. Larger-format tile means fewer grout joints. Well-planned niches and benches can be sloped to drain properly. Quality grout, correctly installed sealant, dependable ventilation, and precise tile work all contribute to a shower that stays cleaner and performs better.
My Contractor LLC approaches bathroom remodeling with the same attention to details that homeowners notice every day, including drainage, waterproofing, tile layout, and finish quality. A shower should look refined when the project is complete and remain practical to maintain for years afterward.
Start with the small habits: squeegee the walls, run the fan, and clean residue before it builds up. If the same grout lines keep darkening despite those efforts, treat that pattern as useful information. Your shower may be asking for a closer look before a minor maintenance concern becomes a hidden moisture repair.